Care and maintenance
This page includes tips for the care and maintenance of your headset.
What’s in the box
Included in the box are your headset and all the essentials listed below.
XR-4
 |
 |
|
|
1 Varjo Controllers not included with XR-4 Secure Edition
2 Only 1 charging cable included with XR-4 Secure Edition
See Setting up XR-4 for more information about connecting your headset.
XR-3
|
|
|
|
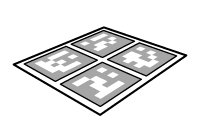
| XR-3 mixed reality headset | Cleaning cloth | Varjo reference marker |


Depending on your headset version and geographical region, one of the following sets for connecting the headset is also included:
|
|
See Setting up XR-3 for more information about connecting your headset.
VR-3
|
|
|
|
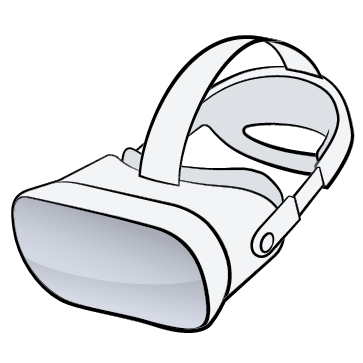
| VR-3 virtual reality headset | Cleaning cloth |

Depending on your headset version and geographical region, one of the following sets for connecting the headset is also included:
|
|
See Setting up VR-3 for more information about connecting your headset.
Varjo Aero
|
|
|
|
| Varjo Aero virtual reality headset | Cleaning cloth | In-ear headphones |


The following items to connect your headset are also included:
|
See Setting up Varjo Aero for more information about connecting your headset.
XR-1 Developer Edition, VR-2 Pro, VR-2, and VR-1
|
|
|
|
| XR-1 Developer Edition headset | VR-2 Pro, VR-2, or VR-1 headset | |
|
|
|
|
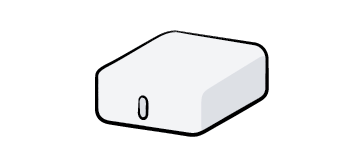
| Link Box LB1 | Link Box power supply unit S51A00 | Connector cables: 1 x USB-C 1 x USB-A 2 x DisplayPort-DisplayPort 2 x DisplayPort-Mini DisplayPort ** not included with the VR-1 |
|
|
|
|
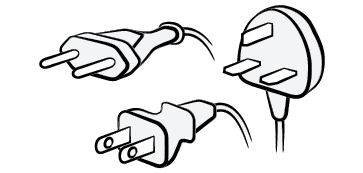
| 3 power cables: Euro plug UK plug US plug |
Standard fabric face cushion Large polyurethane face cushion |
Cleaning cloth |


Handling and care
Please be aware that your Varjo headset is a high-precision optical instrument. Handle your headset with care. Do not drop or throw the headset as it could damage the optical elements.
Lenses and optics play a key part in creating a crystal-clear virtual reality experience. Be careful not to scratch the lenses when you use, store, or move your headset.

When using the headset with eyeglasses, ensure that the eyeglasses do not touch or scratch the headset lenses.
Always lift the headset by holding the headset body or the headband. Do not lift the headset by holding the cushions or cables.
Be careful not to scratch the lenses or the front plate while, for example, changing the mask, face cushion, or headband.
Protect the headset during transportation.
To avoid damaging the controllers, do not drop them, hit other things with them, or collide with hard surfaces.
Although the controllers may be used while charging, avoid doing so while standing up to prevent accidents.
Operating environment
Your headset is intended to be used indoors only. Keep the headset in a clean and dust-free place. Do not use in humid environments.
When the headset is powered on and not in use, place it on a flat surface. Make sure not to cover the air vents of the headset.
Do not leave the headset in direct sunlight or strong ultraviolet light. Exposure to direct sunlight can damage the optics and the displays.
Do not place the headset near heat sources, hot areas, or extreme temperatures. Do not expose the headset to open flames or smoke.
Do not use the headset near water or liquid.
Do not use the headset after a dramatic change in temperature. When you move the headset between environments with very different temperatures and/or humidity ranges, condensation may form on or within the headset. Allow enough time for moisture to evaporate before using the product.
Cleaning your Varjo headset and controllers
Clean the headset and the controllers regularly, especially when sharing them with others. Unplug the headset from its power source and power off the controllers before cleaning.
Headset lenses and mixed reality camera lenses:
- To avoid scratching the lenses, use an air duster to blow off any dust.
- Clean the lenses gently and in a circular fashion with optical lens wipes or a microfiber lens cloth.
Headset and controller body, headset front plate, light blocker, face cushion, nose area, and areas surrounding the lenses:
- Clean with non-abrasive antibacterial wipes.
Fabric cushions (XR-1 Developer Edition, VR-2 Pro, VR-2, VR-1):
- Dampen a clean, soft cloth with water (up to +40C / 104F) and gently wipe the area you want to clean. Air dry at room temperature. Don’t tumble dry, iron, or expose the cushion to direct sunlight. Do not scrub, wring, or bleach the cushion.
Do not use any of the following for cleaning the headset, controllers, and other accessories:
- Water, soap, aerosols
- Cleaning solvents, liquid cleansers, chemical cleansers
- Harsh chemicals, alcohol
Removing the headband
XR-1 Developer Edition, VR-2 Pro, VR-2, and VR-1
You can remove the headband when you need to transport or put the headset into storage.
Follow the instructions to remove the headband:
1. Place the headset on a flat surface. Be careful not to scratch the front plate.
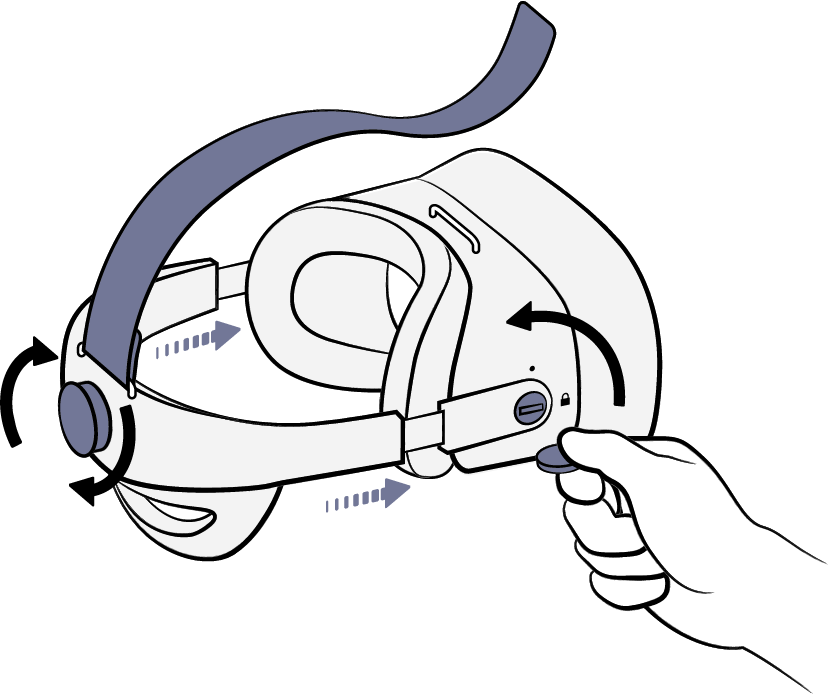
2. Tighten the headband by turning the adjustment wheel.
3. Open the head strap and pull it free from the front.
4. Remove the cables from the two holders located on the left side of the headset and back of the headband.
5. Using a coin, turn the locking mechanisms on both sides of the headband counterclockwise to unlock the headband from the headset.
6. Gently pull the headband apart to remove it.
Replacing the XR camera cable
XR-1 Developer Edition
If you need to replace the XR camera cable, please contact Varjo Support. Do not substitute with another type of cable.
Connecting a new cable pair
XR-4
XR-4 comes with a pair of 5 m (16 ft) cables that are used to connect the headset to your computer. You can replace the standard cable pair with another 5m cable pair, or with a longer 15 m (49 ft) cable pair available in Varjo Store.
See the instructions on how to connect a new cable pair.
XR-3 and VR-3
XR-3 and VR-3 come with a pair of 5 m (16 ft) cables that are used to connect the headset to your computer. You can replace the standard cable pair with a longer 10 m (33 ft) cable pair available in Varjo Store.
See the instructions on how to connect the 10m cable pair.
Installing Ultraleap Leap Motion Controller 2
XR-4
The Ultraleap Leap Motion Controller 2 enables hand tracking for your XR-4 series headsets. It is available in Varjo Store.
See the instructions on how to Install Ultraleap Leap Motion Controller 2.