SteamVR™ Tracking
We will help you set up tracking for your headset.
SteamVR™ Tracking is available for XR-3, VR-3, Aero, VR-2 Pro, VR-2, XR-1 Developer Edition, and VR-1. XR-4 Base station tracking versions also support SteamVR™ tracking. For other options, see the list of available tracking methods.
Positional tracking for your headset
Your Varjo headset uses a tracking system to know its exact position. Tracking allows applications to synchronize your movements in the real world with those in the virtual environment.
Varjo headsets support SteamVR Tracking, which uses up to four SteamVR base stations to track your headset. If your application uses controllers, those can be tracked as well.
Set up SteamVR™ Tracking
Follow these steps to set up SteamVR™ Tracking for your headset. Before you set up tracking, you will need to start setup in Varjo Base and connect your headset.
|
|
1. Install the SteamVR application
Download and install SteamVR to get started. SteamVR is the software required to use SteamVR™ Tracking.
|
||
 |
2. Prepare your environment to use the headset safely
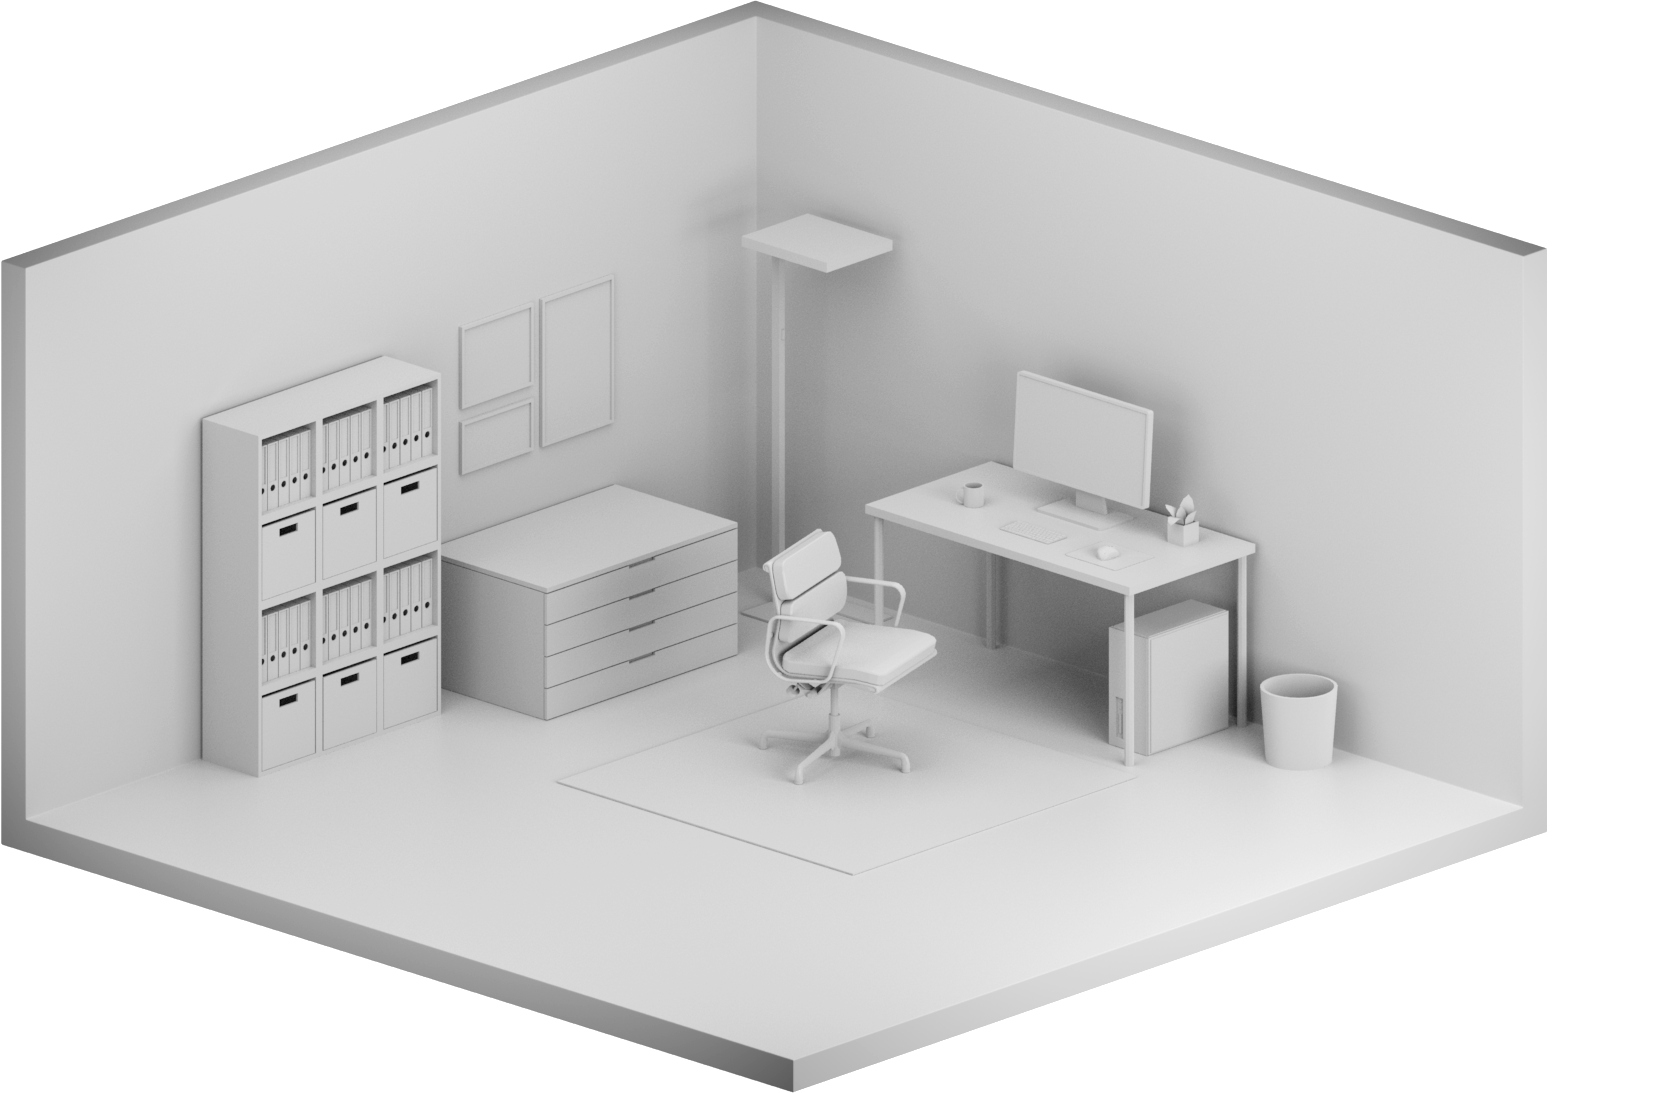
Before using the headset, clear the room of obstacles and hazards, people, furniture, and any other items to ensure that you have enough space both above and around you. If possible, cover all reflective surfaces since they may interfere with tracking. Make sure that you have good lighting in the room when you set up and use the headset. Read more about how to prepare your environment.
|
||
|
3. Choose the positions for the base stations
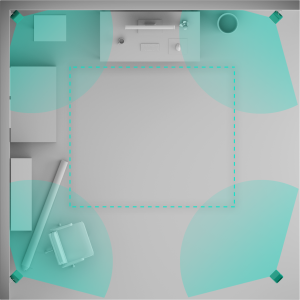
You can use either SteamVR™ base stations 1.0 or 2.0. Recommended distances between the devices are:
Note:
|
||
 |
4. Mount the base stations
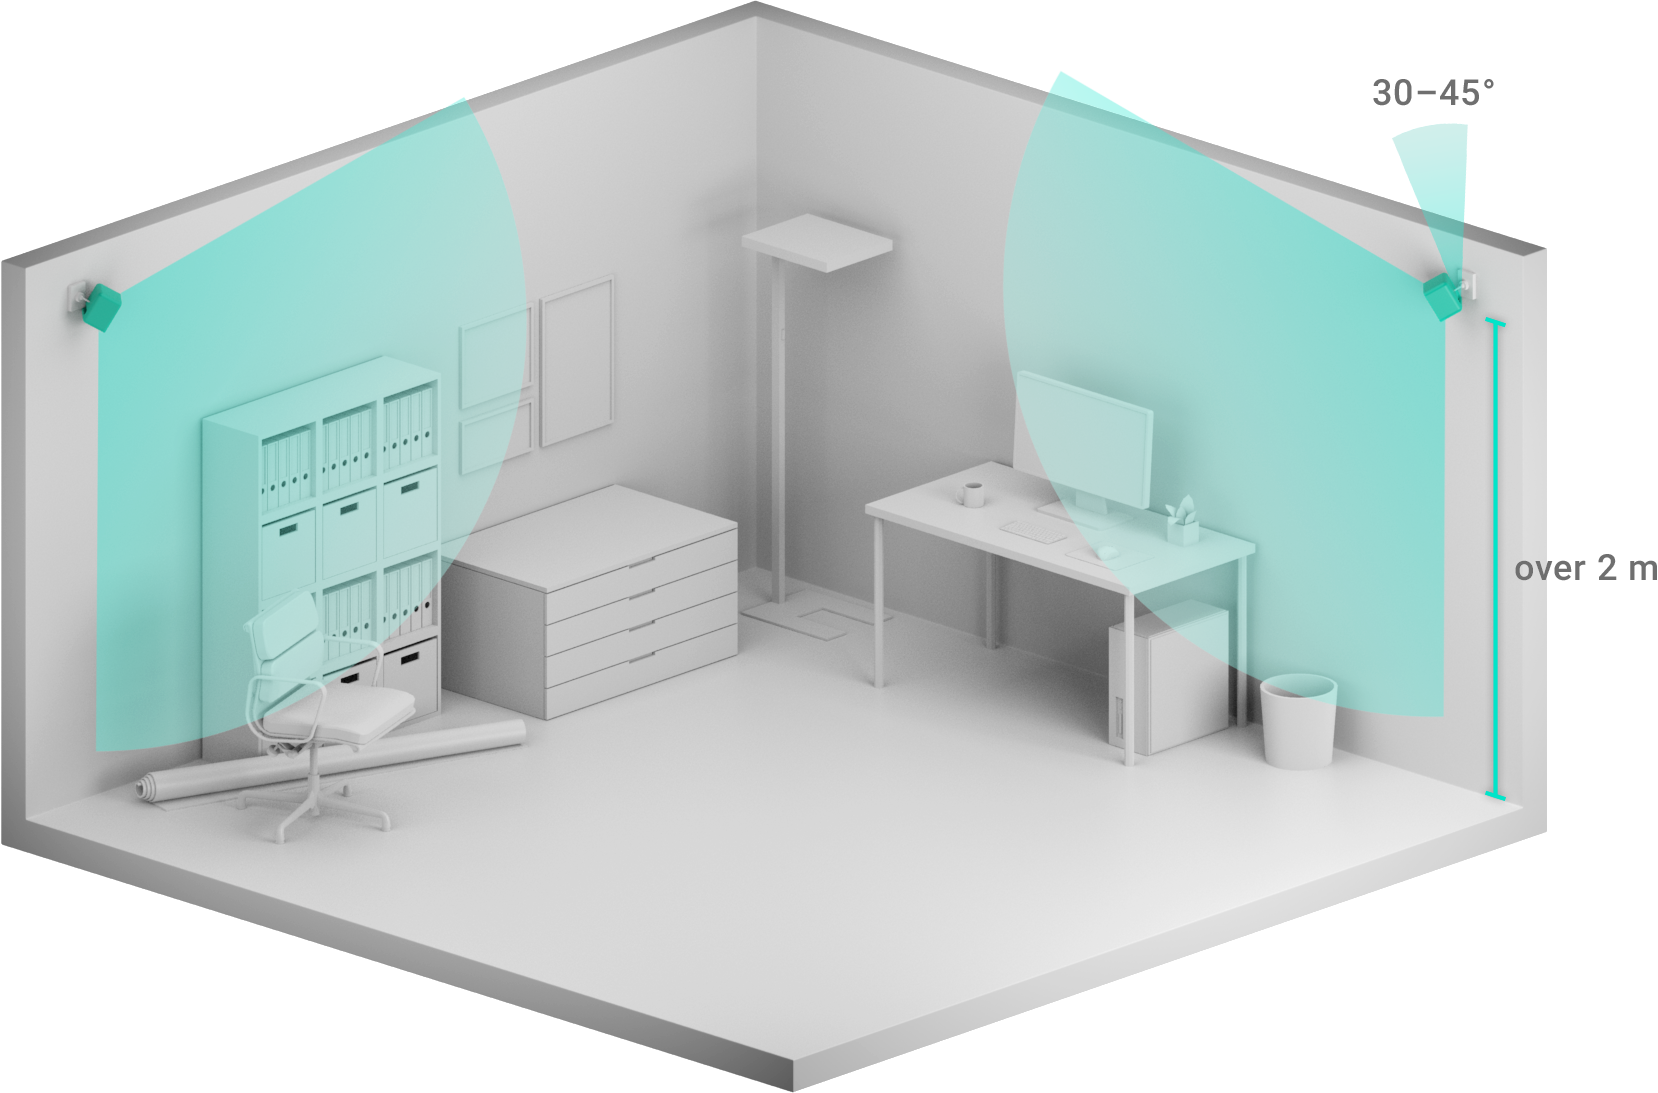
Mount the base stations at a minimum height of 2 m (6.5 ft) and angled down 30–45 degrees. Make sure the base stations have a direct line of sight with the headset, even when moving around the room.
Use the wall-mounting kit (included in the box) or a tripod (not included). For additional instructions, check the manufacturer’s guide on how to use the mounting kit (PDF).
|
||
 |
5. Plug in the base stations
Two different power plugs are included in the box (European type C and North American type A). Use a standard power adapter if needed.
|
||
| A.
B.
|
6. Set the channels for your base stations
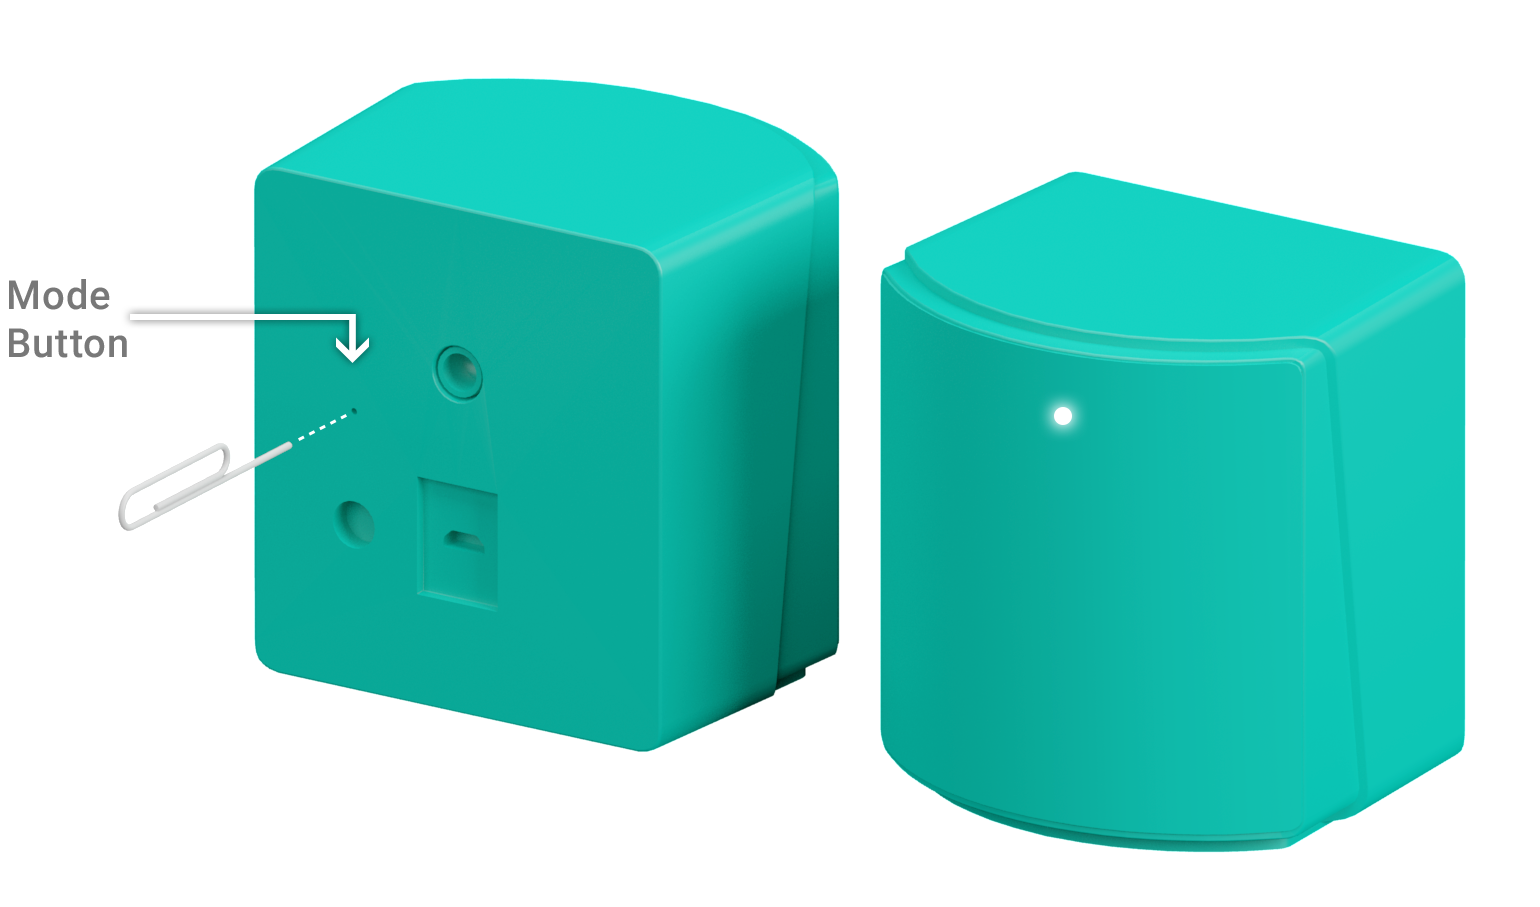
A. Setting channels for base stations 2.0 You can recognize this model by the rounded front panel.
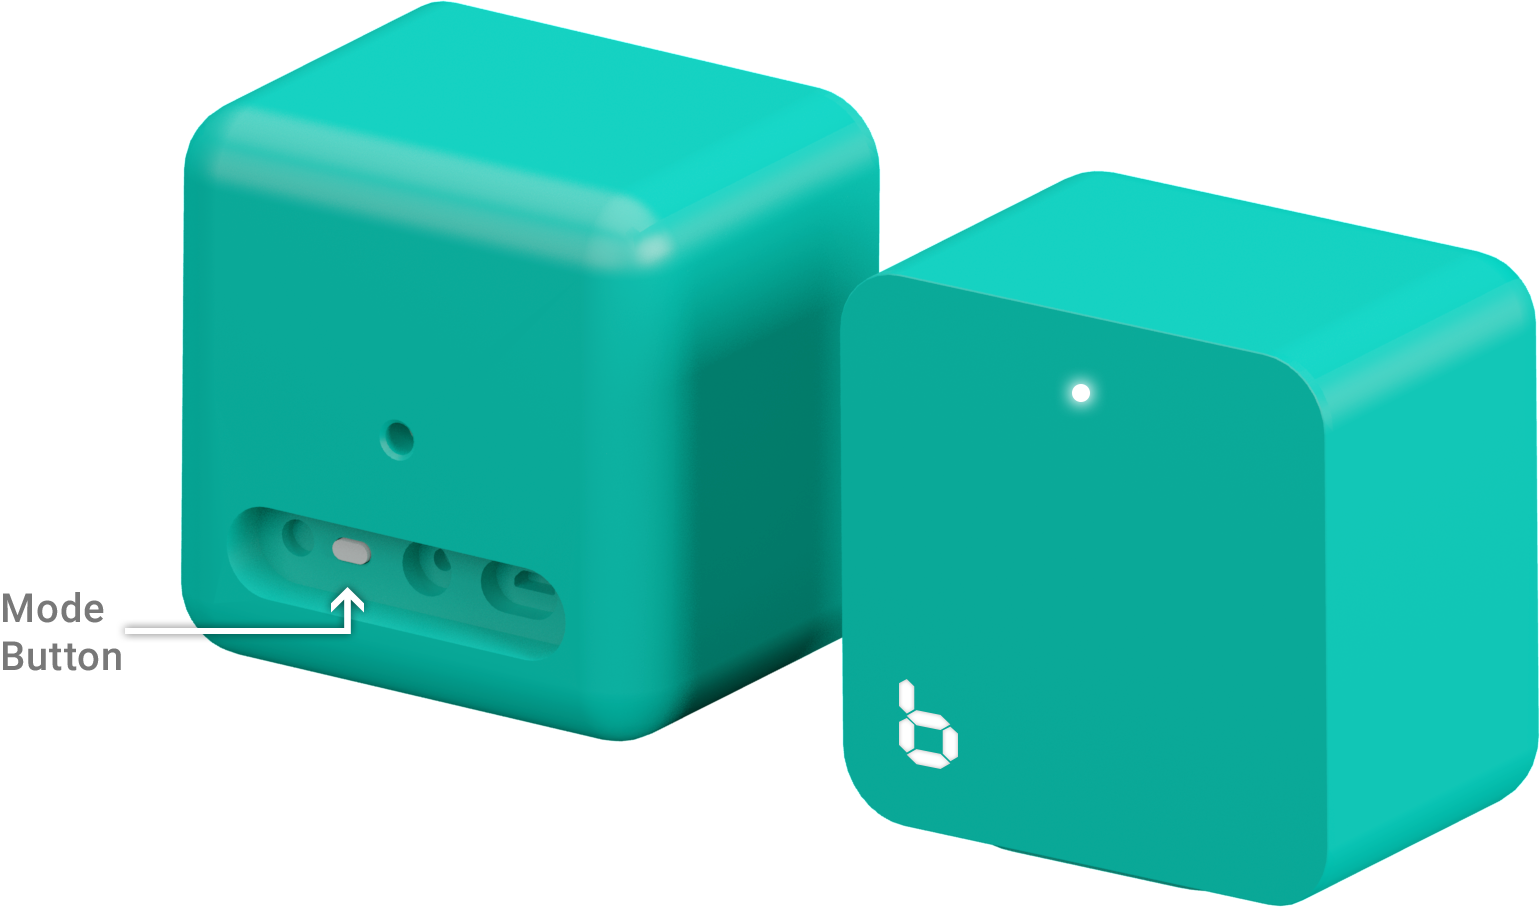
B. Setting channels for base stations 1.0 You can recognize this model by the rectangular shape of the device.
1 base station = a
|
||
| 7. Check the tracking status in Varjo Base
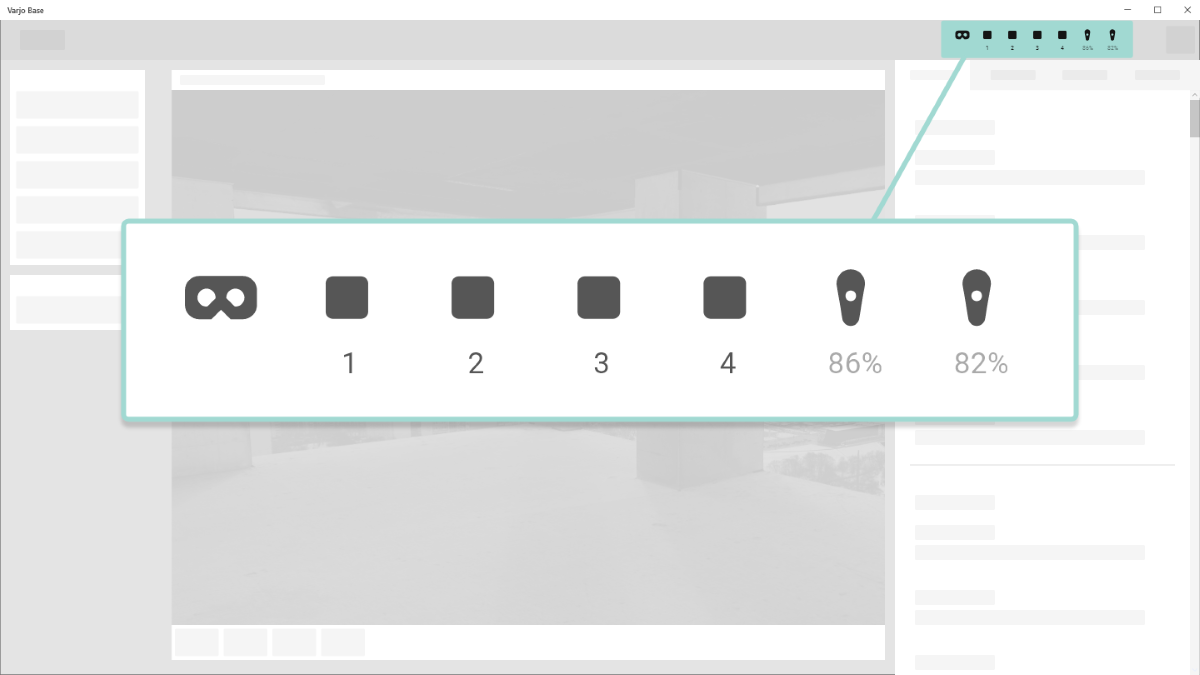
Varjo Base will display the status of your devices. Check the icons in the status area to confirm that your headset and base stations are connected and that tracking is working. If headset tracking is not working, make sure that the headset has a direct line of sight with the base stations and that the front plate of the headset is not covered.
|
|||
  |
8. Set up your room in SteamVR
When using your Varjo headset for the first time in a new environment, you will need to perform a brief setup to configure the headset and base stations. Perform this setup each time you move the headset and base stations to a new environment, or if you move the base stations or change their orientation in your current room.
You can start room setup again at any time in Varjo Base by navigating to the System tab and SteamVR room setup.
|
||

|
9. Optional: Pair your controller(s)
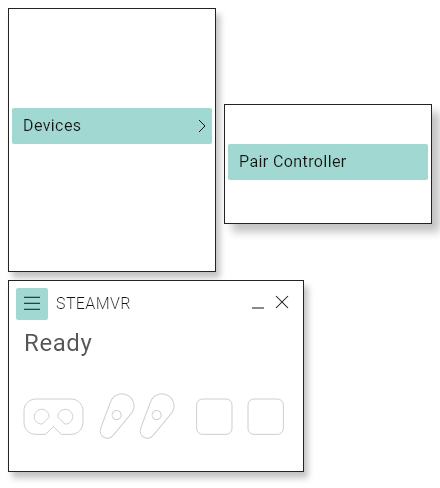
When using Varjo headsets with SteamVR™ Tracking, you can use any SteamVR™ compatible controllers. Please note that Varjo Controllers are not compatible with SteamVR™Tracking Note: If you have previously paired your controllers with another VR headset, they will need to be paired again with your Varjo headset.
You can pair devices again at any time in Varjo Base by navigating to the System tab and Pair SteamVR device.
|
||
| 10. Enable the OpenVR runtime if prompted (XR-3 only)
Varjo Base will attempt to automatically enable the OpenVR runtime for XR-3. If you have previously used an OpenVR-compatible headset on this computer, you may be prompted to enable the runtime manually. Enable the OpenVR runtime if you want to run OpenVR applications, such as SteamVR apps.
|
|||
|
|
11. Setup complete
SteamVR™ Tracking is now successfully set up and your headset is ready for use.
|
Get familiar with your Varjo headset
- We’ve prepared a reading package for you to get to know your headset better.
- For more applications, visit our Developer portal for information on how to port existing Unity projects and Unreal Engine projects to run on your Varjo headset.
- Varjo Showcases have been designed to demonstrate the graphical capabilities of the Varjo XR-4 headset. You can use them to test and get to know your headset.
- See FAQ & Troubleshooting for any problems or questions.

