A new format for Varjo Base updates
Varjo introduces new release channels in Varjo Base 4.15, offering earlier access to updates and improved real-world validation.
Varjo introduces new release channels in Varjo Base 4.15, offering earlier access to updates and improved real-world validation.
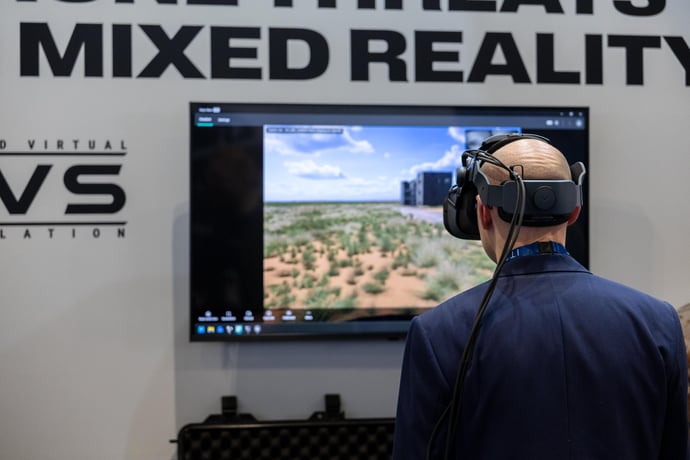
Learn how immersive XR is helping teams train for modern threats, including drone warfare, at Varjo’s Helsinki Open House.
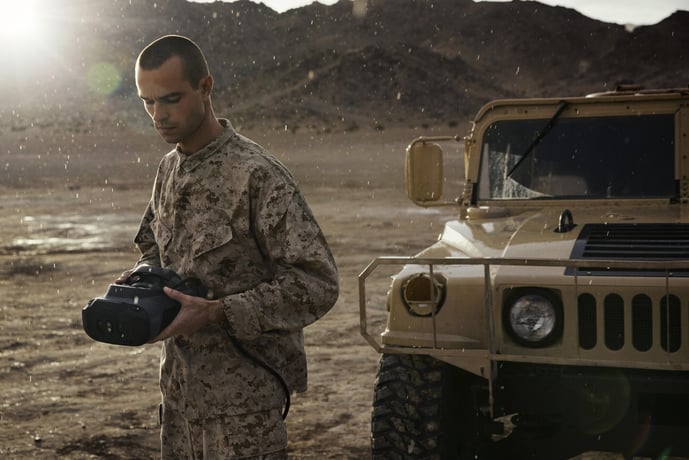
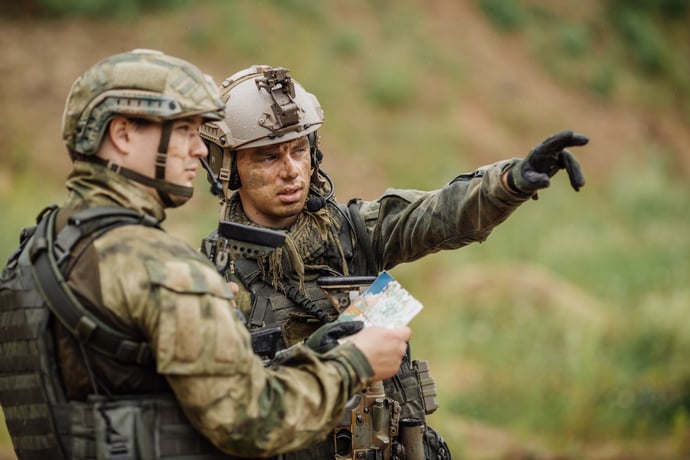
In this post, we outline six essential features for a military VR headset built for high-stakes training environments.
%20images/xr4-2026-hero.png?height=460&name=xr4-2026-hero.png)
How Varjo designs XR for the world’s most security-sensitive environments. Learn how XR-4 meets strict defense, aerospace, and industrial security requirements by design.
.jpg?height=460&name=_w5a3107%20(1).jpg)
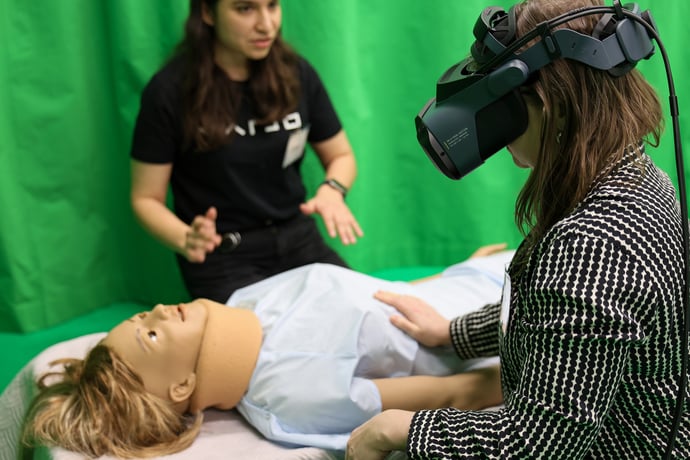
In this blog post, we look at 5 examples of virtual and mixed reality (VR and XR) training solutions and how they are reshaping simulator training.
Learn about the different military simulation training domains where XR technology is being applied today, as new applications continue to emerge.

I/ITSEC 2025 revealed a maturing XR ecosystem, with military training conversations centered on scalability, usability, and long-term adoption.
From live ranges to virtual battlespaces, explore how XR is transforming JTAC and joint fires training for greater realism, repeatability, and readiness.

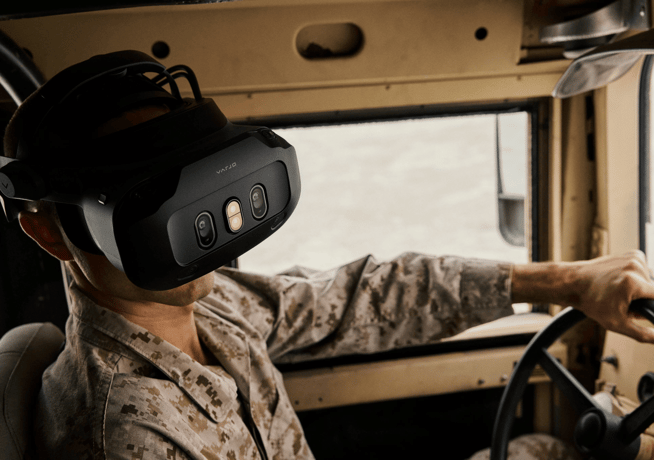
Discover the refreshed Varjo XR-4 Series, redesigned for mission-critical training with improved clarity, ergonomics, and deployability.

Varjo Base 4.13 introduces Night Mode for simulated night conditions for XR training, and performance & feature improvements for the entire XR experience.
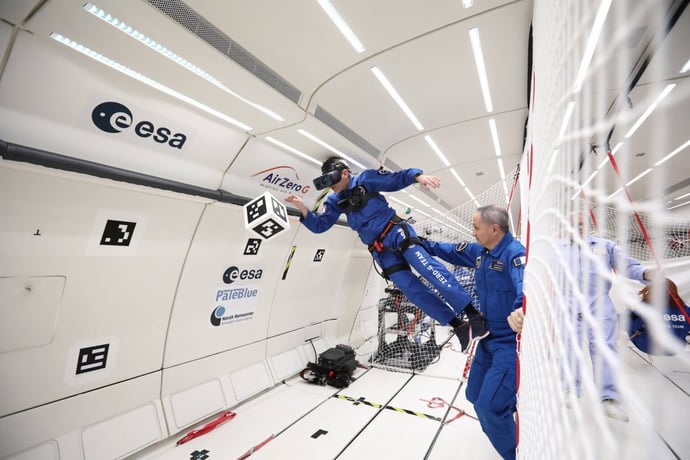
In this blog, we explore PaleBlue’s transformative collaboration with the European Space Agency where VR/XR is redefining how astronauts prepare for space exploration.
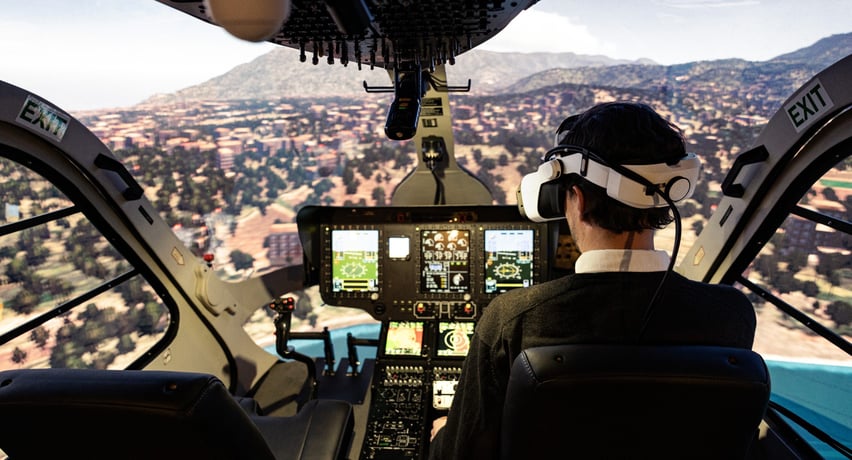
Dive into the raw data demonstrating the effectiveness of XR Flight Simulators and their potential to eventually replace the traditional “dome” simulator.
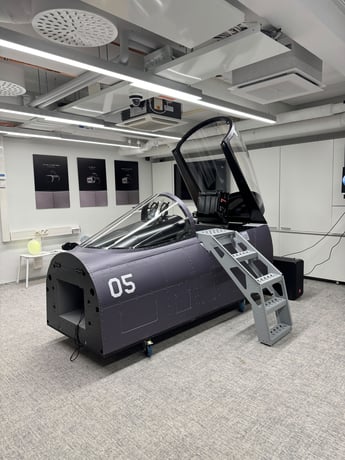
Step inside the ultimate XR fighter jet simulator from Dogfight Boss that blends real cockpit hardware with the Varjo XR-4.

Key takeaways from DSET 2025, highlighting how immersive XR training is bridging the gap between defence needs and real-world readiness.