Ensuring that the lens’s optical axis is aligned with your eyes simply means making sure that the headset rests in the correct position over the eyes. Start by lowering the headset over the face with the straps loosened and adjust according to the visual prompts if the headset is either sitting too high or too low.
Twist the back dial
Twist the dial on the back of the strap clockwise, while holding the headset in position with the other hand, until comfortably tight.

Tip: The headset is usually always in the correct position laterally, as the wearer’s nose tends to slide it into place but if you are experiencing issues with the automatic IPD adjustment, try rotating the headset slightly to the left or right.
Twist the top dial
Next twist the top dial clockwise to tighten the top strap until the cushion presses against the top of the head, but stop before it begins to raise the headset up on the face. If the top strap becomes too tight, the headset will be raised out of position affecting the visual experience. In this case, simply loosen it to lower the headset again.

Tip: If you are experiencing significant chromatic aberration (purple and green lines around objects), this can be improved by ensuring the headset remains correctly centered on the eyes.
Adjust the side dials
Finally, use the two small dials on either side of the device to adjust the tilt of the headset to the position where it sits most flush with the face. If you notice excessive distortion, chromatic aberration, or external light leaking in; revisit the positioning of the side dials.
Enjoy complete immersion
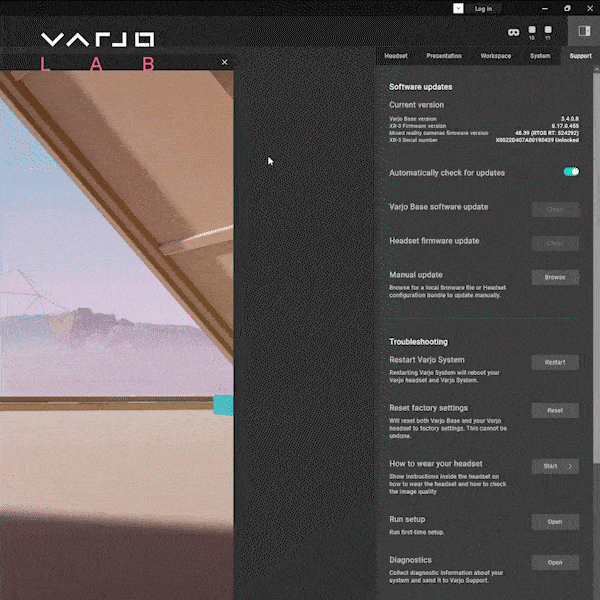
That’s it! If you need a quick reminder of the best order to adjust the dials, you can view a helpful animation by clicking the ‘How to wear your headset’ option in Varjo Base.
Manual IPD adjustment
Varjo headsets feature auto IPD (interpupillary distance) adjustments. This means the headset will automatically move the lenses left or right to match the distance between the wearer’s eyes. In exceptional circumstances, for example when wearing varifocal lenses, the automatic IPD may not arrive at the optimal position. If so, you can set the IPD manually within Varjo Base.

For instructions for fitting the Varjo XR-4 Series headsets, read our guide here.