As a solutions engineer on the Varjo Alpha team, I spend a lot of my time in the room with customers on the first day a headset arrives. And I've learned that the gap between a great XR session and a frustrating one almost always comes down to a handful of basics done well: a clean headset, a proper fit, and a quick calibration.
None of it is complicated. But simple setup actions can create an optimal experience. So I put together this guide, and the video that goes with it, to cover the essentials for the XR-4 Series.
What you're working with
The XR-4 Series is our enterprise-grade mixed reality headset, built for high-fidelity simulation and training rather than consumer entertainment. That distinction matters in practice: the passthrough is sharp enough to read real cockpit instruments, the tracking is stable enough for hours of use, and it's designed to drop into simulator environments instead of standalone games.
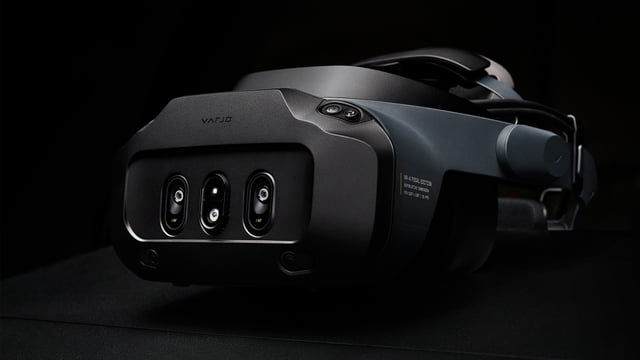
New to setup, or connecting the headset for the first time? Start with our full walkthrough: Setting up the XR-4 Series.
Keep it clean
If several people share a headset, as is common in training environments, cleaning is the first habit worth building. Sanitize before the first use, between users, and after each session.
A couple of things I always tell customers:
- Unplug the headset from power first.
- For the body, front plate, light blocker, face cushion, and nose area, use non-abrasive antibacterial wipes.
- For the lenses, be gentle, and use wipes made specifically for lenses. The optics are the heart of the headset.
- Don't use alcohol on the lenses, and never use paper towels, abrasive cloths, soap, solvents, or aerosols anywhere on the device. Don't spray liquid directly onto any surface.
Keep a generous stack of lens wipes near your demo space.
Full details: Cleaning your Varjo headset and controllers and our tips for safe and hygienic use.
Get the fit right
A good fit isn't just about comfort, the headset only delivers its full visual quality when it's positioned precisely over your eyes. Because every head is different, it's worth taking a moment to make the necessary adjustments.

The sequence is simple: loosen the straps, position the headset on your face, then tighten evenly so the weight sits balanced and there's no pressure point. I commonly advise, especially when the user is wearing eye glasses, to put on the headset like a welder's mask (bringing the front part towards the face horizontally, then reaching around and pulling the back adjustment down to rotate the headset into the optimal position.)
A few adjustments help you dial it in:
- The back pad has two positions. Pick whichever feels most stable.
- The side pads can be adjusted to sit comfortably and to make room for eyeglass temples.
- The face cushion attaches with hook-and-loop strips, so it's quick to swap or replace. (Note: cushions from earlier Varjo models don't fit the XR-4 Series.)
For glasses wearers: the headset works with most single-vision eyeglasses. Just make sure there's enough clearance for the temples, and take care that your lenses never touch the headset optics.
One thing that surprises people: resist the urge to overtighten. Eye tracking and image quality actually depend on a little breathing room between your eye and the lens.
More on fit: Fitting the headset – XR-4 Series.
Let the headset find your eyes
Once the headset is on, two things happen that are easy to overlook but do a lot of the heavy lifting.
Automatic lens adjustment (IPD). By default, the XR-4 Series moves its lenses to match the distance between your eyes as soon as you put it on. You'll hear a short buzzing sound. Don't worry, that's normal. I recommend leaving this setting on; it's under Settings > Eye tracking > Automatically adjust interpupillary distance in Varjo Base if you ever need it. See Adjusting the headset lenses.
Eye-tracking calibration. This is the step I never skip. The XR-4 Series is a gaze-driven system — eye tracking is what powers foveated rendering, the IPD adjustment, and, on the Focal Edition, the autofocus. Calibrate well and everything downstream looks better.
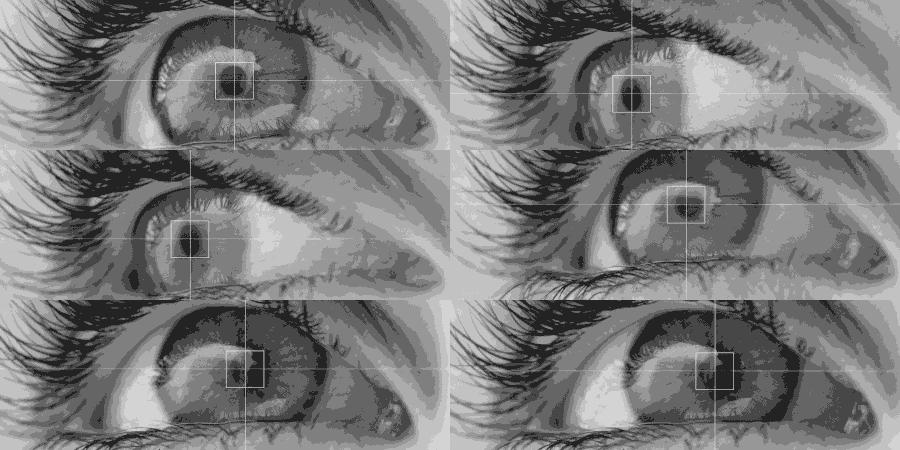
You have two options:
- Single-dot calibration is fast and often good enough for general use.
- Five-dot calibration takes a little longer and gives you more accurate tracking (my default for anything where gaze data feeds into training or assessment.)
You can run calibration straight from the headset Menu (open the Menu, select Calibrate) or from the toolbar in Varjo Base. And if you turn on Remember my calibration, you won't need to repeat it every session.
Step-by-step: Using eye tracking.
Wrapping up a session
Taking the headset off is the reverse of putting it on: loosen the straps, then lift it cleanly away from your face rather than dragging it down.
A few habits that keep a shared headset in good shape for years:
- Give it a quick post-use wipe-down, ready for the next person.
- Always lift by the headset body or headband, never by the cushions or cables.
- Store it somewhere clean and dust-free, out of direct sunlight, and away from anything that could scratch the lenses.
See Handling and care for the full list.
When you want a hand
That's the whole loop; clean, fit, calibrate, use, and put away.
If you'd like to go deeper, or you're standing up a new training program and want to get it right from day one, that's what my team is here for. The Varjo Alpha team works hands-on with customers on integration, deployment, and getting the most out of the platform in a real training environment. We're always happy to talk through your setup, reach out through your Varjo contact or get in touch with us here.
.png?width=768&height=800&name=768x1000%20(3).png)
Helpful links:
- Setting up the XR-4 Series
- Fitting the headset
- Adjusting the headset lenses
- Using eye tracking
- Cleaning your headset and controllers
- Handling and care
- PDF user guides – XR-4 Series
-Anna