Setting up tracking
This the second step in our Getting started guide. We will help you set up your physical environment and tracking for your headset.
 |
 |
 |
|
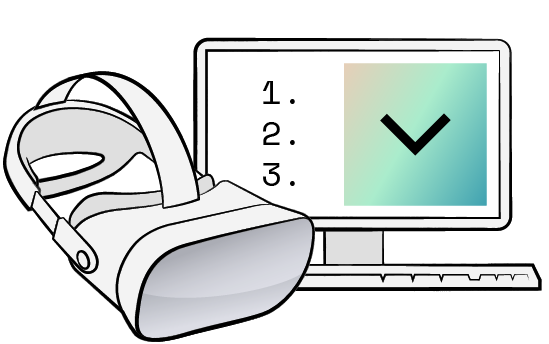
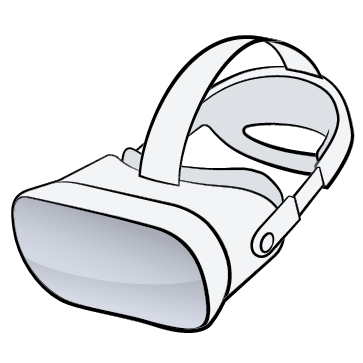
← 1. Connecting your headset: |
2. Setting up tracking |
The tracking ecosystem
Varjo headsets use a tracking system to know the exact position of your headset. Tracking allows applications to synchronize your movements in the real world with those in the virtual environment. If your application uses controllers, those can be tracked as well.
SteamVR™ is the default tracking system for Varjo headsets. Up to four SteamVR™ base stations are used for tracking.
Please note that the instructions here apply to the SteamVR™ tracking system only. Review the instructions for third-party tracking if you are using another tracking method.
Setting up SteamVR™ tracking
You can follow along with the videos or go through the list of setup steps below. You will need to connect your headset before setting up tracking.
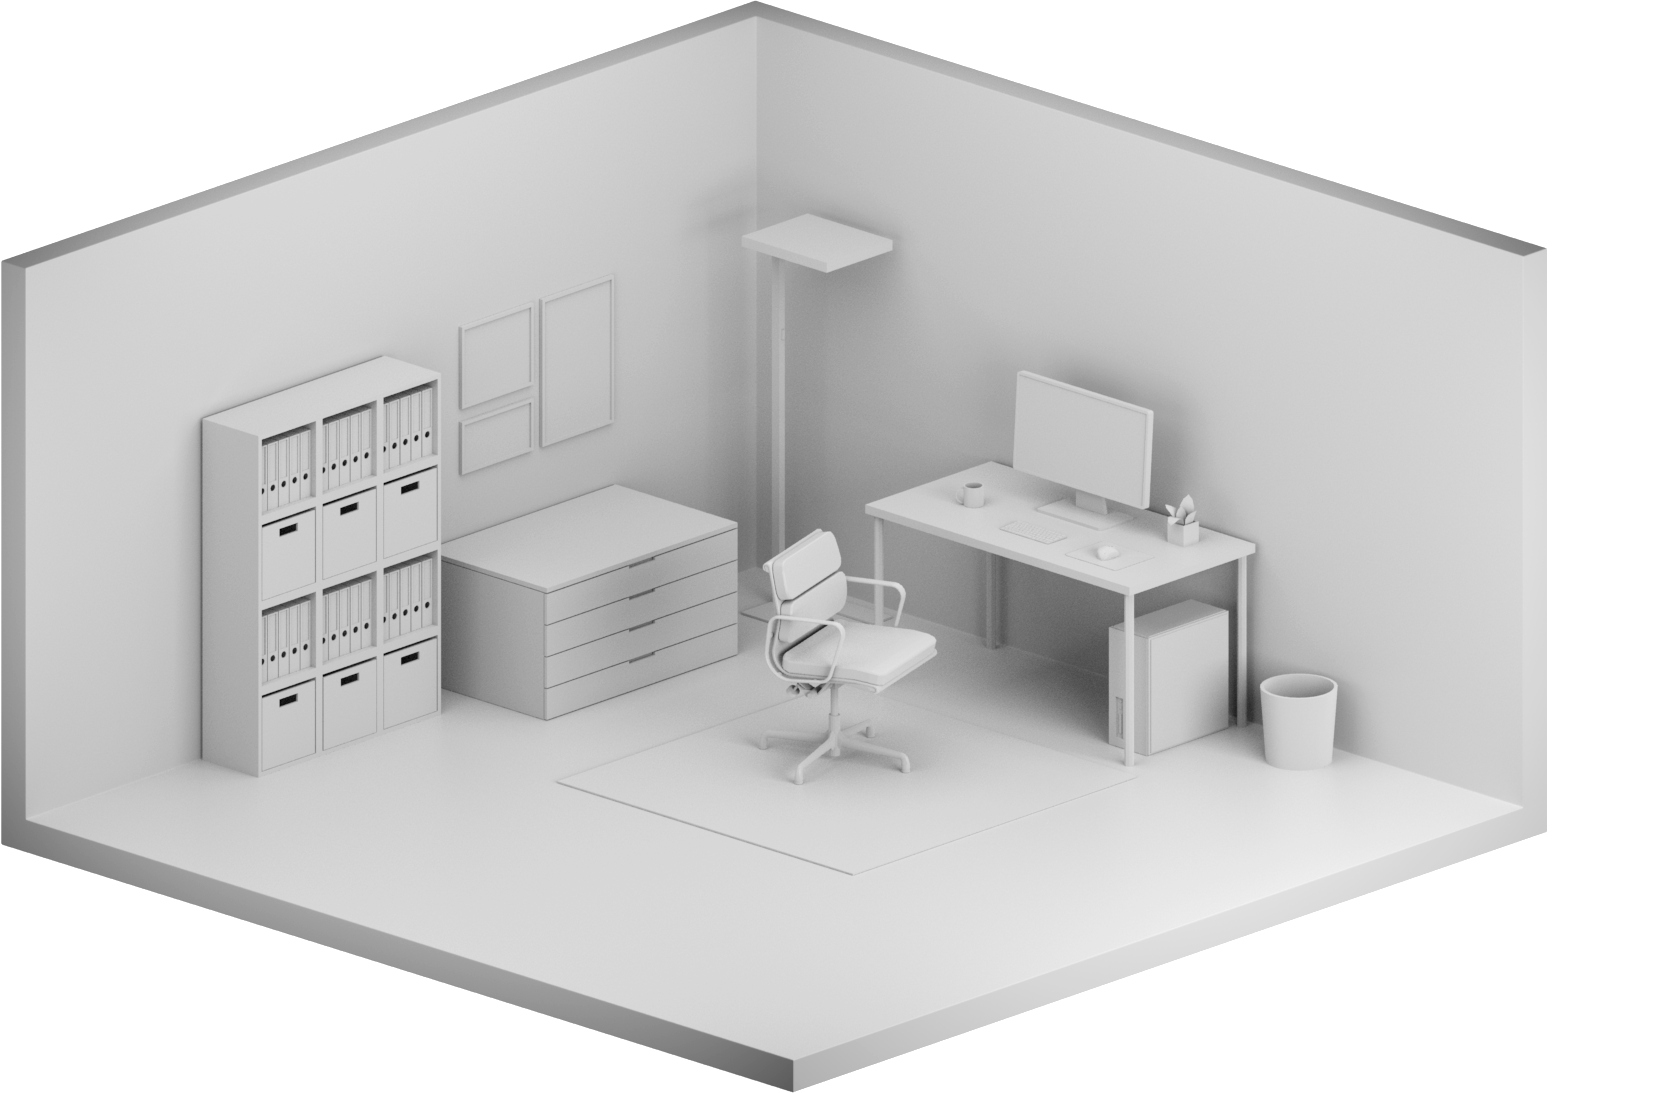 |
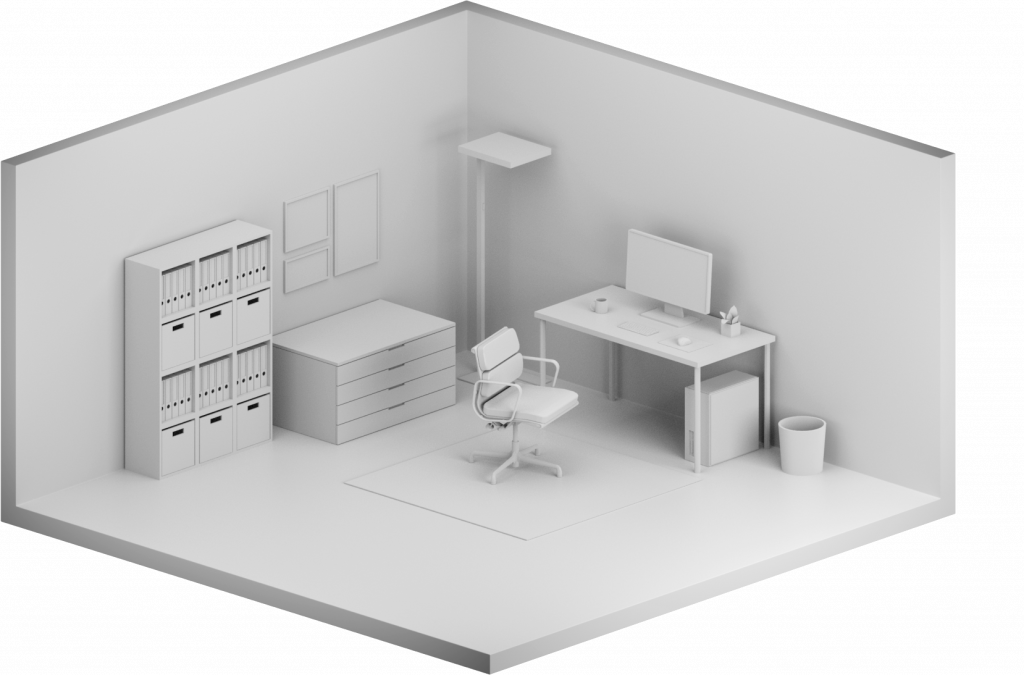
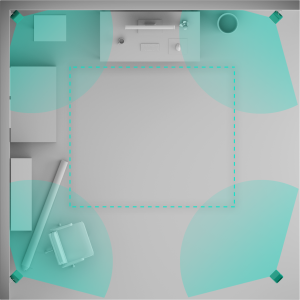
1. Prepare the room where you will be using the headset
Make sure to clear the room of any obstacles before using the headset. Please be aware that reflective surfaces may interfere with tracking. If possible, cover all reflective surfaces in the base stations’ field of view. |
||
|
2. Choose the positions for the base stations
You can use either SteamVR™ base stations 1.0 or 2.0. Recommended distances between the devices are:
Note:
|
||
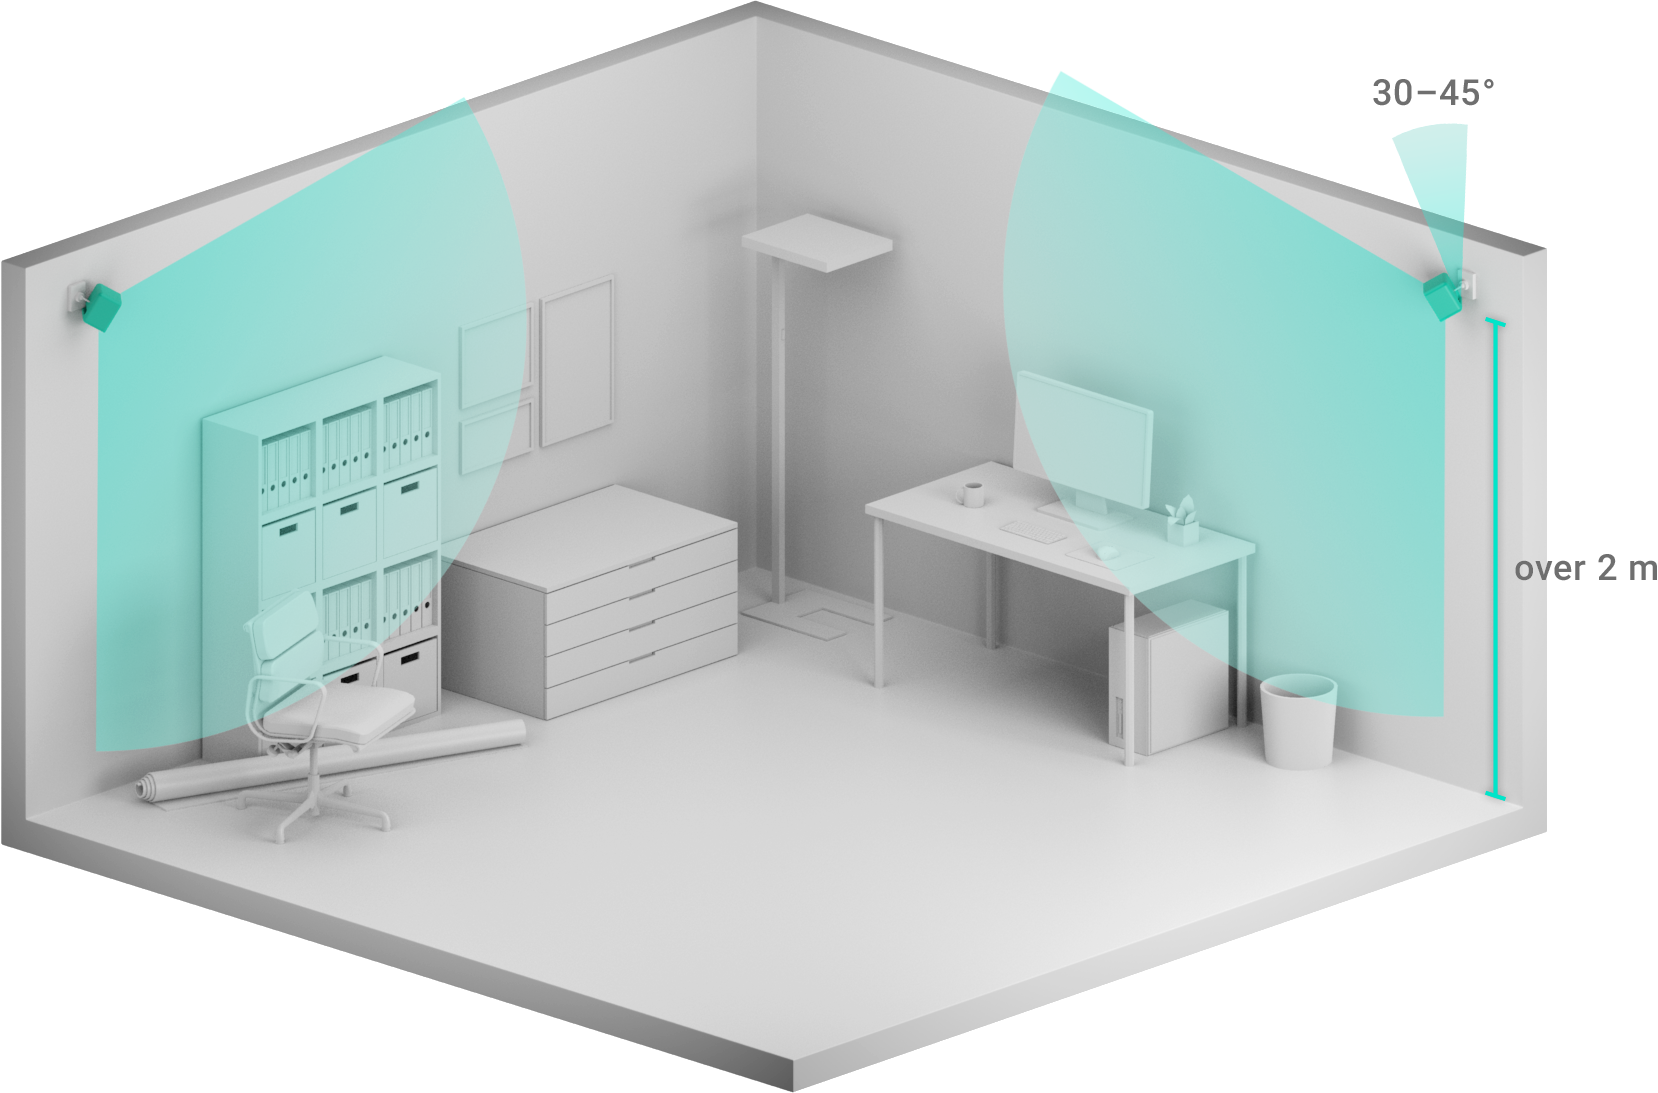 |
3. Mount the base stations
|
||
 |
4. Plug in the base stations
Two different power plugs are included in the box (European type C and North American type A). Use a standard power adapter if needed. |
||
A.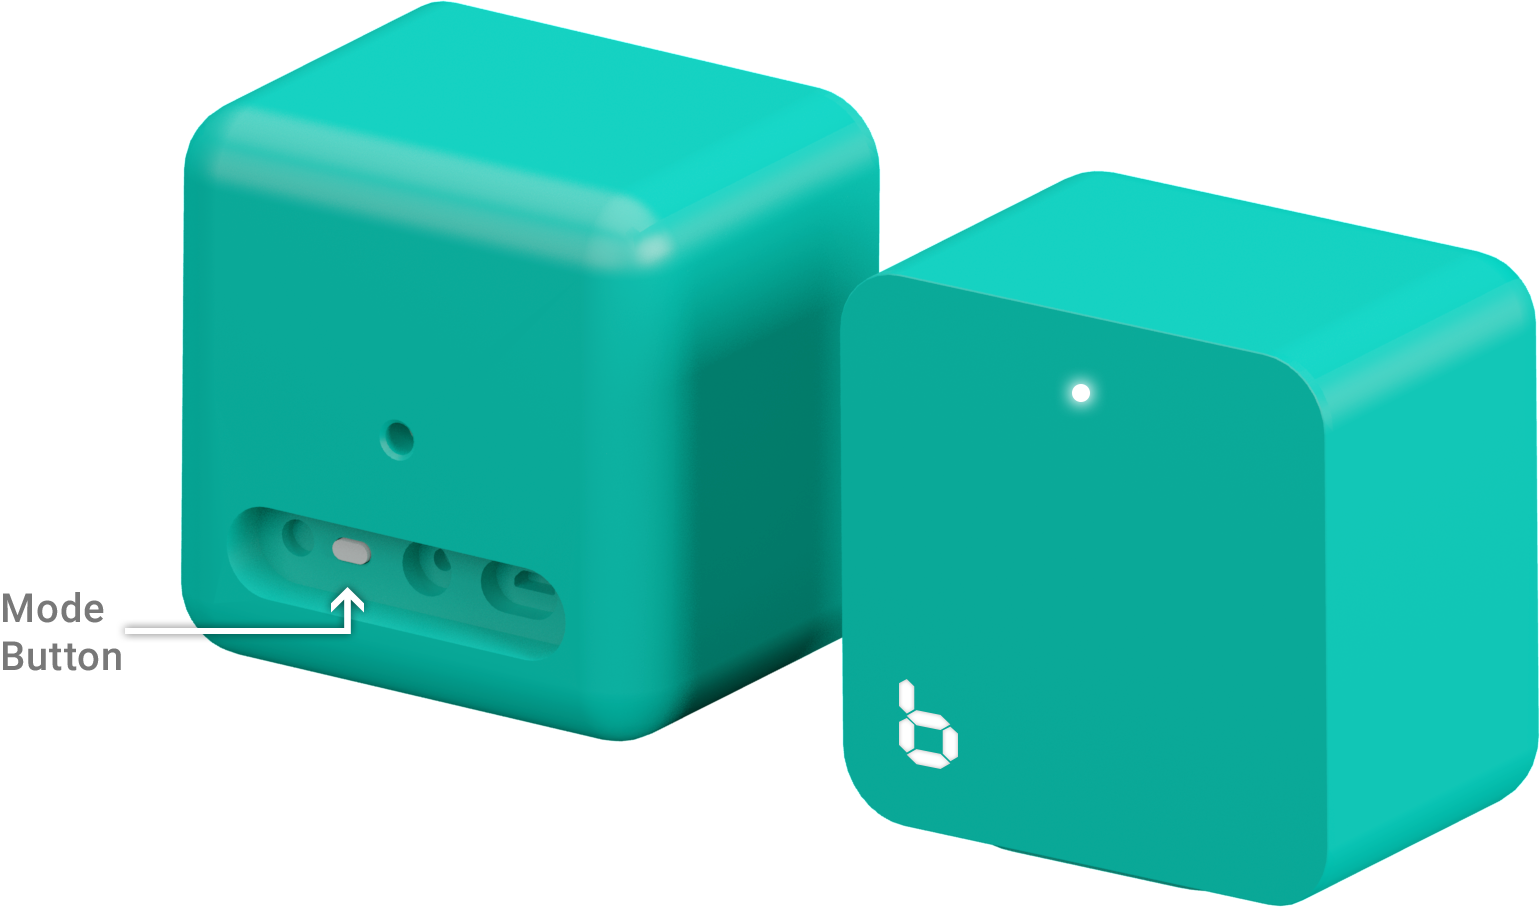
B. |
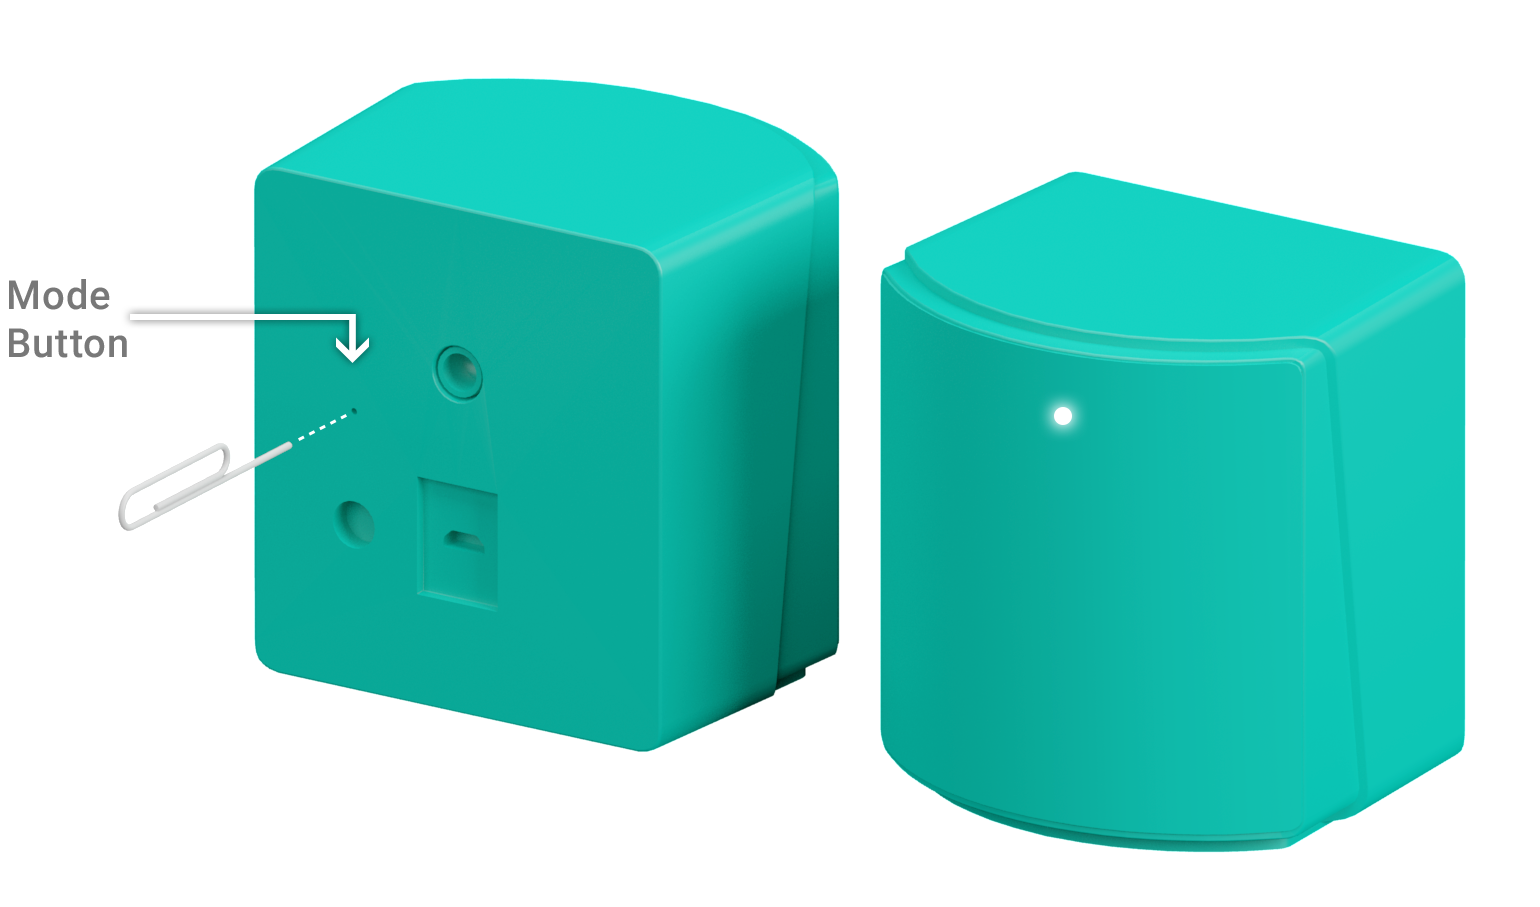
5. Set the channels for your base stations
A. Setting channels for base stations 1.0 Tip: You can recognize this model by the rectangular shape of the device.
B. Setting channels for base stations 2.0 Tip: You can recognize this model by the rounded front panel.
|
||
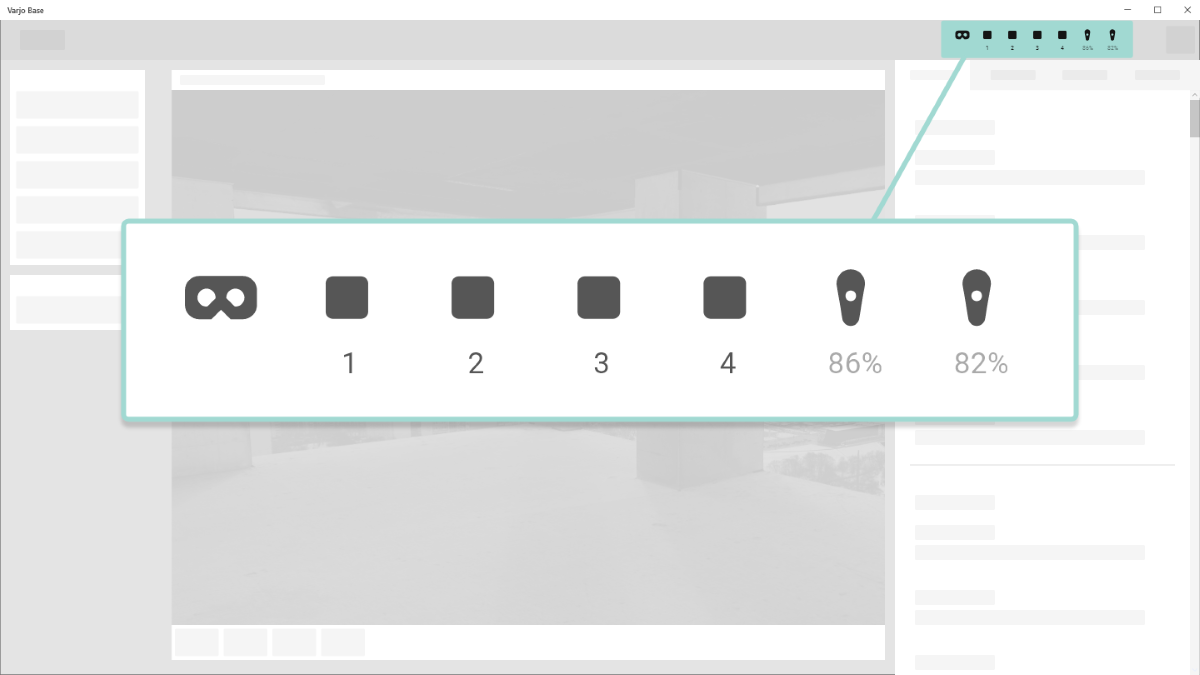
| 6. Check the tracking status in Varjo Base
Varjo Base will display the status of your devices. Check the icons in the status area to confirm that your headset and base stations are connected and that tracking is working. If headset tracking is not working, make sure that the headset has a direct line of sight with the base stations and that the front plate of the headset is not covered.
|
|||
  |
7. Set up your room in SteamVR
When using your Varjo headset for the first time in a new environment, you will need to perform a brief setup to configure the headset and base stations. Perform this setup each time you move the headset and base stations to a new environment, or if you move the base stations or change their orientation in your current room.
|
||

|
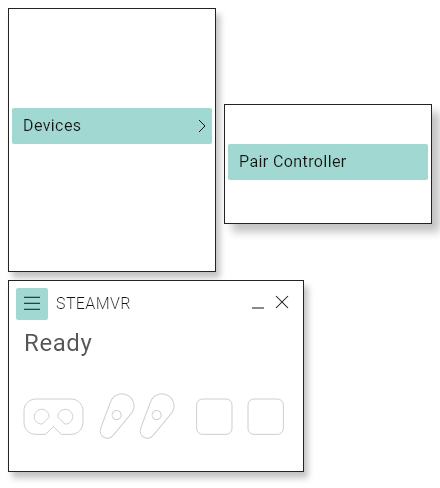
8. Optional: Pair your controller(s)
Your existing controllers can be used with your Varjo headset. You can use any SteamVR™-compatible controller, such as the HTC Vive controller. Note: If you have previously paired your controllers with another VR headset, they will need to be paired again with your Varjo headset.
|

Continue with setup
This completes the second step of setting up your Varjo headset. Continue the setup process below.
|
|
|
|
← 1. Connecting your headset: |
2. Setting up tracking |